Healthy Iced Coffee Mousse
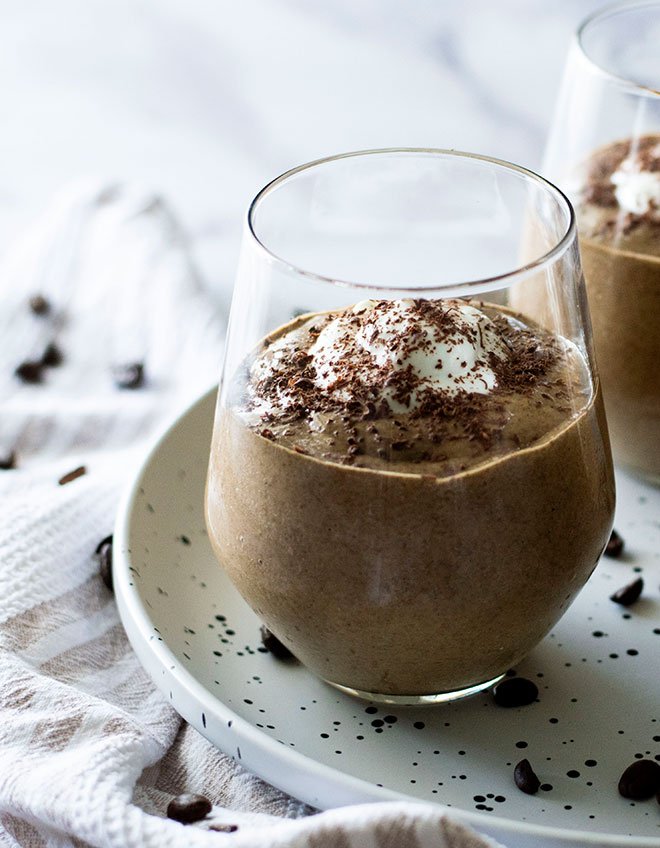
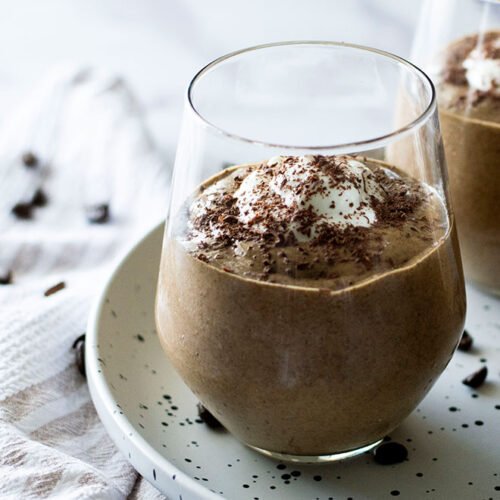
Thick, rich and creamy – this Healthy Iced Coffee Mousse is the perfect, no-cook breakfast, snack, or dessert for anyone who loves coffee. Made with just 5 ingredients, this instant coffee mousse is cheap, easy and tastes just like an iced coffee!
Why you’ll love this Iced Coffee Mousse
There is just something magical about iced coffee. If you love coffee (like me), then this is the recipe for you! I may have had to make triple the recipe, for testing purposes of course (lol).
This recipe uses coffee, vanilla, and maple syrup to recreate that iconic iced coffee flavour. However, you can easily customise it to your taste. If you want a stronger coffee hit or a touch more sweetness, no worries! Either way, this dessert will satisfy your sweet tooth while giving you a caffeine fix! Best off all, it’s insanely easy and requires no cooking!
You wouldn’t think so, but this recipe is budget friendly! It costs about AUD$4.70 (~USD$3.11) for the whole recipe. So you’re getting a mousse that tastes great, is better for you, and costs not much more than supermarket varieties!
Many mousse recipes/food products are very high in fat and sugar and have no dietary fibre (and not much else of nutritional value). This Iced Coffee Mousse has less than half the fat and sugar of some supermarket mousses (per 100g). It also has much more dietary fibre, so you’ll feel full after eating it, and not feel tempted to continue snacking.
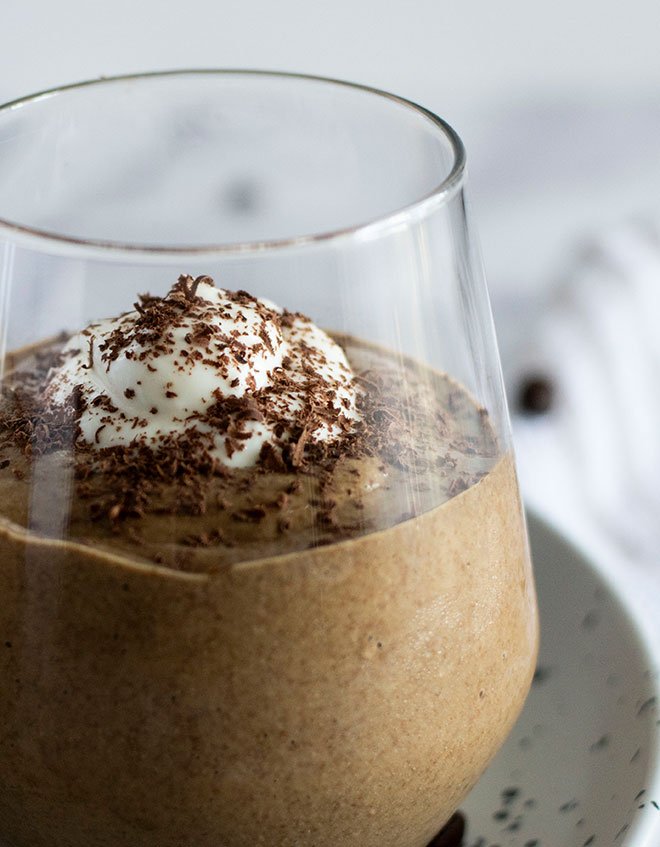
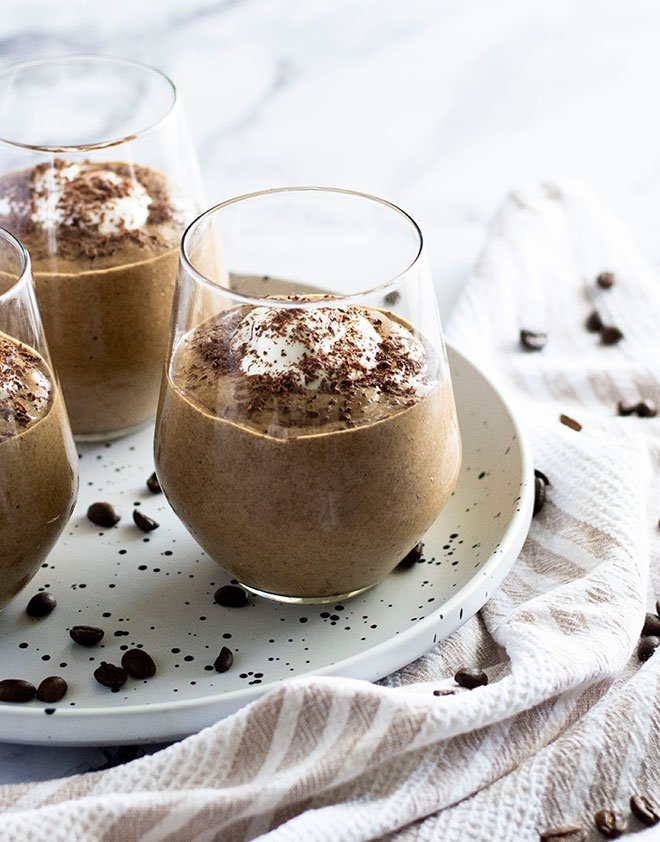
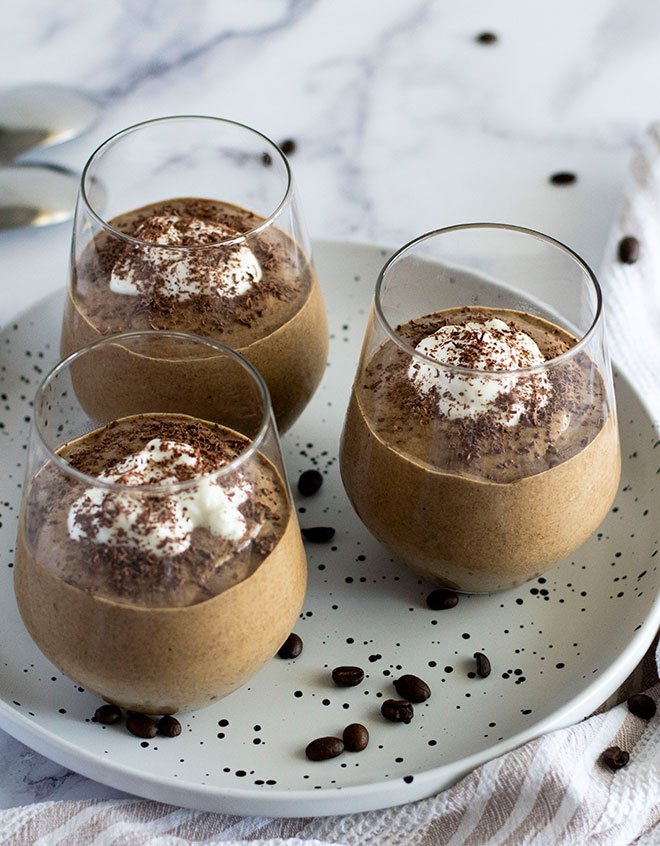
Top it with a dollop of Greek yoghurt and shaved dark chocolate for the perfect dessert to end a dinner party on that will have your guests asking for more!
Recipe suitability
This Iced Coffee Mousse is high in fibre, at almost 7g per serve, which is great for our gut health. It also contains a moderate amount of protein at almost 8g per serve. This recipe is not low fat, but contains healthy fats (omega-3 and 6) from the chia seeds. However, this mousse is low in saturated fat, cholesterol, and sodium, which means it is heart friendly. It is also gluten free, vegetarian, and easily can be made vegan!
Iced Coffee Mousse ingredients
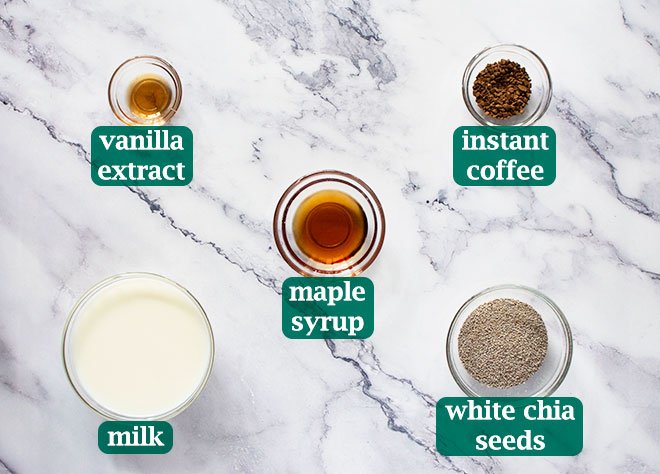
- Milk – Preferably low fat. Milk is loaded with calcium and phosphorus, which are essential minerals for maintaining strong, healthy bones and teeth. It also contains vitamin B12, which is needed to make new DNA and blood cells, and maintaining healthy nerve cells.
- Chia seeds – I used white chia seeds to keep the mousse light in colour. Chia seeds are loaded with dietary fibre, which may help lower LDL (bad) cholesterol levels, regulate blood sugar, and maintain our digestive health by feeding our gut bacteria. They are a rich source of omega-3 fatty acids, a polyunsaturated fat that may benefit eye, brain, and heart health. They also contain magnesium, which is needed for muscle, nerve, and immune system function, as well as bone and heart health.
- Coffee – You can use any type of coffee granules or powder. I used Moccona Dark Roast, as I love a deep, strong coffee flavour. Research suggests that coffee may be linked to a reduced risk of diabetes, some cancers, Parkinson’s disease, and longer lifespan. However, it is recommended not to have more than 400mg of caffeine per day (~4 cups), as it can have negative effects (increased heart rate, anxiety, sleep disturbances or upset guts).
- Maple syrup – Adds just a hint of sweetness. However, maple syrup does contain a lot of sugar, so it is best eaten in moderation.
- Vanilla extract – Is more natural and gives a stronger flavour than vanilla essence.
How to make Iced Coffee Mousse
- Combine the milk, maple syrup, vanilla extract, and instant coffee in a small bowl. Stir with a fork until most of the coffee granules have dissolved. Taste the coffee mixture and adjust to suit your taste. Don’t worry if you can’t get the coffee to dissolve completely; they will disappear when it is time to blend the mousse.

- Pour the chia seeds into the coffee milk and stir to mix. Cover with cling wrap and place in the fridge to soak for at least 30 minutes. I like to leave mine overnight, which ensures the chia seeds have enough time to expand and create a gel-like texture.

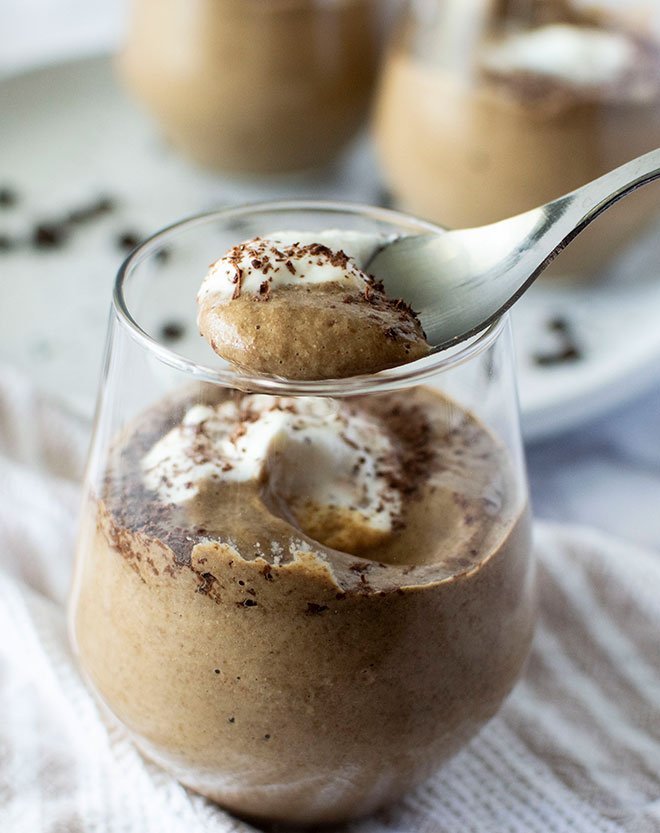
- Remove the bowl from the fridge, pour the chia mix into a blender and blitz for 90 seconds to 2 minutes or until smooth and creamy. I used a bullet-style blender (e.g. Nutribullet/Magic Bullet), which is very effective at breaking down the chia seeds. You can use a regular food processor with blades – while it will break down most of the chia seeds, you will still see some left over.
- Pour the mousse into serving glasses. I found using a jug (500ml pyrex) was much easier and less messy than pouring straight from the bullet blender cup.

- Just before serving, top with a good dollop of Greek yoghurt and some shaved dark chocolate. Serve and enjoy!

Storage
The mousse will last in an airtight container in the fridge for up to 5 days from when the chia seeds were mixed with the milk. Another great thing about this mousse is that you can also freeze it for later! It will last up to 3 months in the freezer.
Tips & Substitutes
You can make this recipe with any coloured chia seed. Do note that if you use black or a combination of black and white chia seeds, your mousse will likely turn out much darker. If you want to maintain a lighter iced coffee colour, stick with the white chia seeds.
To make this recipe vegan, switch to unsweetened plant-based milk (preferably fortified with calcium).
If you want a caffeine free mousse, use decaffeinated coffee powder/granules.
Want to make it an Iced Mocha Mousse instead? Add 2 teaspoons to 1 tablespoon of cocoa powder for a chocolate hit!
Hungry for more?
Don’t forget to subscribe to my newsletter and follow along on Facebook, Instagram and Pinterest for all the latest updates!
Tap or hover to scale
Ingredients
- 1 cup milk, low fat
- 1 tsp vanilla extract (Note 1)
- 1 tbsp maple syrup (Note 2)
- 2 tsp instant coffee (Note 3)
- 1/4 cup white chia seeds (Note 4)
Instructions
- Add the milk, maple syrup, vanilla extract, and instant coffee in a small bowl. Stir with a fork until most of the coffee granules have dissolved. Taste the coffee mixture and adjust to suit your taste. Don’t worry if you can’t get the coffee to dissolve completely; they will disappear when it istime to blend the mousse.
- Pour the chia seeds into the coffee milk and stir to mix. Cover with cling wrap and place in the fridge to soak for at least 30 minutes. I like to leave mine overnight, which ensures the chia seeds have enough time to expand and create a gel-like texture.
- Remove the bowl from the fridge, pour the chia mix into a blender and blitz for 90 seconds to 2 minutes or until smooth and creamy. I used a bullet-style blender (e.g. Nutribullet/Magic Bullet), which is very effective at breaking down the chia seeds. You can use a regular food processor with blades – while it will break down most of the chia seeds, you will still see some left over.
- Pour the mousse into serving glasses. I found using a jug (500ml pyrex) was much easier and less messy than pouring straight from the bullet blender cup.
- Just before serving, top with a good dollop of Greek yoghurt and some shaved dark chocolate. Serve and enjoy!
Notes
- Vanilla extract – Is more natural and has more flavour than vanilla essence.
- Maple syrup – Feel free to adjust to your preferred sweetness, I found 1 tablespoon to be a good balance of coffee and sweetness.
- Instant coffee – Needs to be either coffee powder or granules (freeze dried). I used Moccona Dark Roast, as I love a deep, strong coffee flavour. If you want a caffeine free mousse, use decaffeinated coffee powder/granules.
- White chia seeds – I used white chia seeds to keep the mousse a light iced coffee colour. You can make this recipe with any coloured chia seed. Do note that if you use black or a combination of black and white chia seeds, your mousse will likely turn out much darker.
- Vegan – Switch the milk for an unsweetened plant-based milk (preferably calcium-fortified).
- Other flavours – Add 2 teaspoons to 1 tablespoon of cocoa powder to make it an Iced Mocha Mousse instead.
- Nutrition – Calculated per serve, assuming 2 serves.


